How to Use Menstrual Disc
Gail J. Gillmore
- 0
- 90
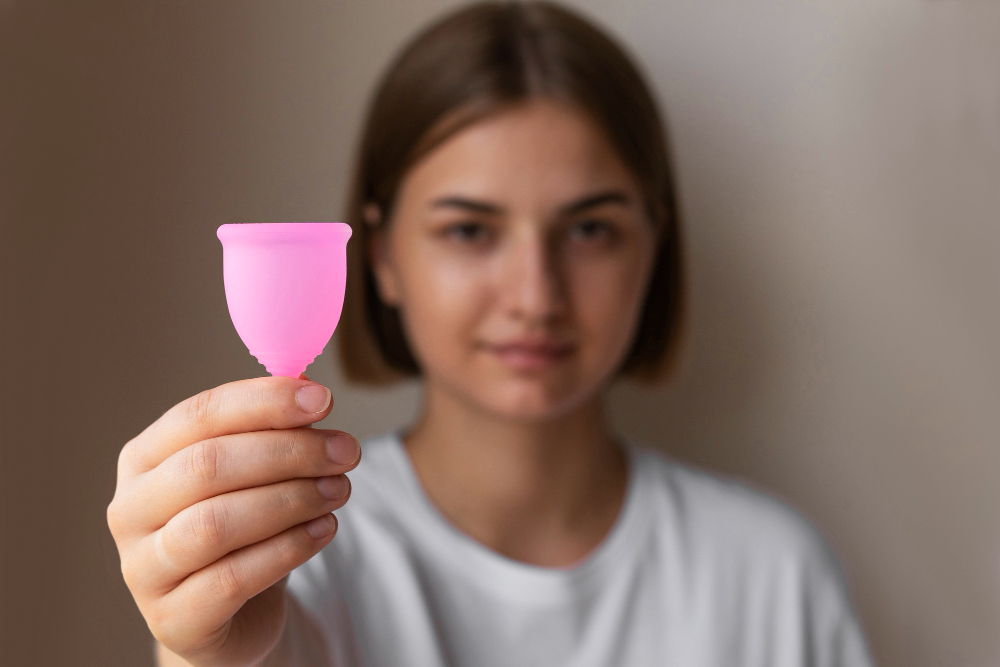
Menstrual discs have emerged as an innovative option in the realm of period products, offering an alternative to traditional methods like pads, tampons, and menstrual cups. A menstrual disc is a flexible, shallow device designed to sit at the base of the cervix, in the vaginal fornix, collecting menstrual fluid rather than absorbing it. This design not only allows for longer wear times, up to 12 hours, but also enables mess-free intercourse during menstruation. Despite their benefits, many are unfamiliar with how to use them effectively. This article provides a detailed guide on using a menstrual disc, from insertion to removal, ensuring a comfortable and leak-free experience.
Getting to Know Your Menstrual Disc
Before attempting to use a menstrual disc, it’s essential to familiarize yourself with its design and function. Unlike menstrual cups that are bell-shaped and use suction to stay in place, menstrual discs are flat, flexible, and held in position by the natural anatomy of the vaginal canal. They typically come in one size that fits most, though some brands offer options based on flow volume or anatomy variations. Understanding the shape and flexibility of the disc will aid in comfortable insertion and removal.
Preparing for Insertion
Hygiene is paramount when handling and inserting any menstrual product. Start by washing your hands thoroughly with soap and water. While menstrual discs do not require sterilization like some reusable menstrual cups, ensuring that both your hands and the disc are clean is crucial to prevent any risk of infection. If you’re using a reusable disc, make sure it’s washed with mild soap and rinsed well with water before each use.
The Insertion Process
To insert a menstrual disc, begin by finding a comfortable position. This might be sitting on the toilet, squatting, or standing with one foot elevated. Hold the disc between your thumb and forefinger, and squeeze it to form a narrow figure-eight or taco shape. Gently separate the labia with your other hand and insert the disc into the vaginal opening, aiming it back and down towards the tailbone. Unlike menstrual cups, which sit below the cervix, the disc should be pushed back and up as far as it can comfortably go, tucking the rim behind the pubic bone to secure it in place. Relaxing your muscles during this process can make insertion smoother.
Ensuring Proper Placement
After insertion, you might need to adjust the disc slightly to ensure it’s correctly positioned. When properly placed, the disc should not be noticeable, and there should be no discomfort. If you feel any irritation or discomfort, the disc may not be inserted correctly or fully tucked behind the pubic bone. In that case, using a clean finger, gently push the disc further back or adjust its angle. The correct placement is key to preventing leaks and ensuring comfort during wear.
Removal and Maintenance
To remove the menstrual disc, wash your hands thoroughly and return to a comfortable position. Using your index finger, hook it under the rim of the disc at the front and gently pull it straight out, keeping it parallel to the floor to avoid spills. Once removed, empty the menstrual fluid into the toilet. If you’re using a disposable disc, follow the disposal instructions provided by the manufacturer. For reusable discs, wash it with mild soap and water before reinserting or storing it.
Embracing the Menstrual Disc
While the idea of using a menstrual disc may seem daunting at first, many find them to be an invaluable addition to their menstrual care routine once they get the hang of it. Menstrual discs offer a liberating, eco-friendly, and potentially more comfortable alternative to traditional period products. With practice, insertion and removal become quick and straightforward processes. As with any new menstrual product, give yourself time to adjust and find the technique that works best for you. The key to a positive experience with menstrual discs lies in patience, practice, and understanding your body’s anatomy.


